Managing Appointments
Appointment Status
An appointment can have one of the following statuses:
- SCHEDULED
- The initial status when the appointment is created. Services may be added, but no product has been dispensed.
- ACTIVE
- The user has begun the mix and the product has been dispensed into at least one of the formulas.
- COMPLETED
- All formulas have been either reweighed or discarded and the appointment has been marked as Completed either through the Vish Color Bar, Vish Front Desk, or through your salon's POS system (if integration has been enabled). If needed a user can resume a Completed appointment.
- CHECKED OUT
- The appointment has been checked out either through the Vish Front Desk or your salon's POS system (if integration has been enabled). This appointment has been finalized and no further work can take place for this appointment.
Creating an Appointment
If you’re integrated, your appointments will automatically show in the Vish app upon logging in. You can still create an appointment as an integrated salon through manual scheduling but the appointment may not appear in your POS system. See Restricted Scheduling for more details.
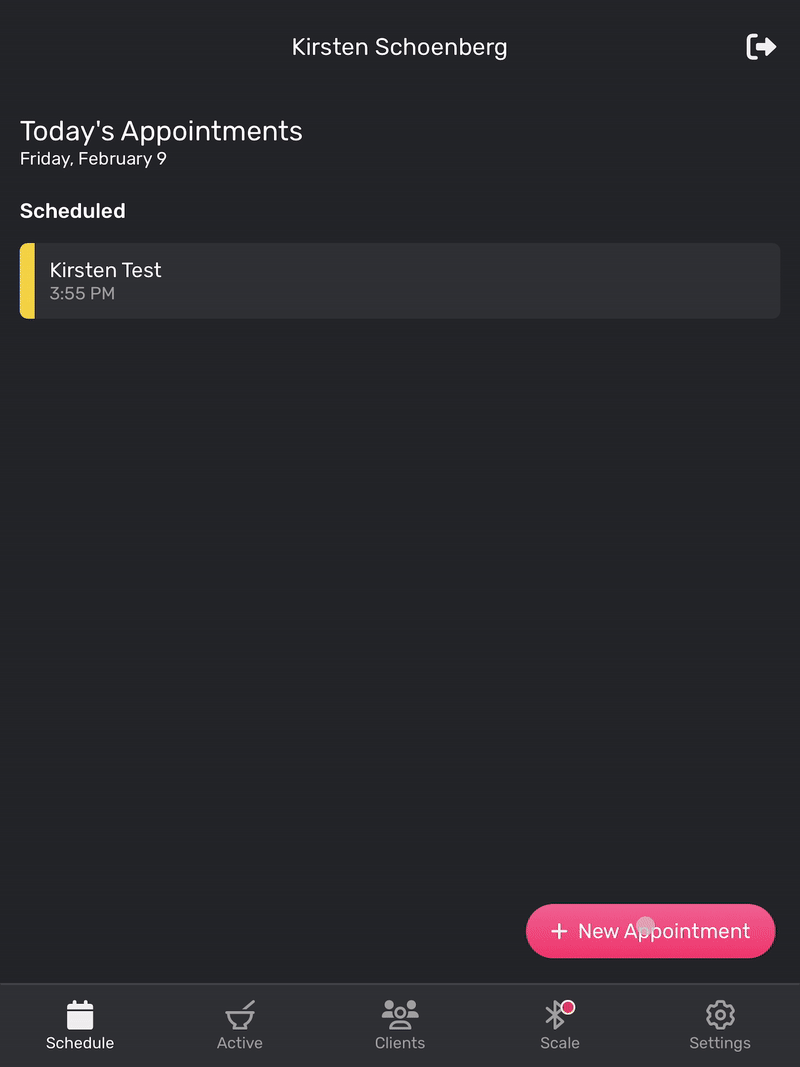
- Once logged in, press New Appointment in the bottom right of your screen.
- Press the Search for a New Client field, and type to find the desired client in the list. Note for non-integrated salons: if this is a new client, you need to Add a New Client first, then start at step 1.
- Press Save Appointment.
- Press the customer's name under Scheduled and then Add Services in the bottom right corner.
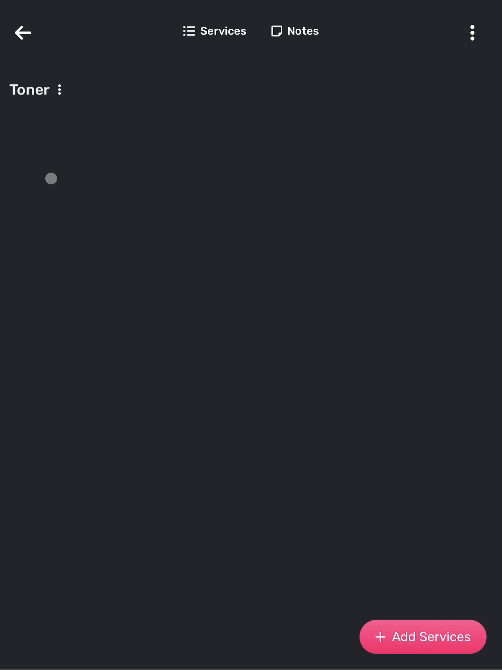
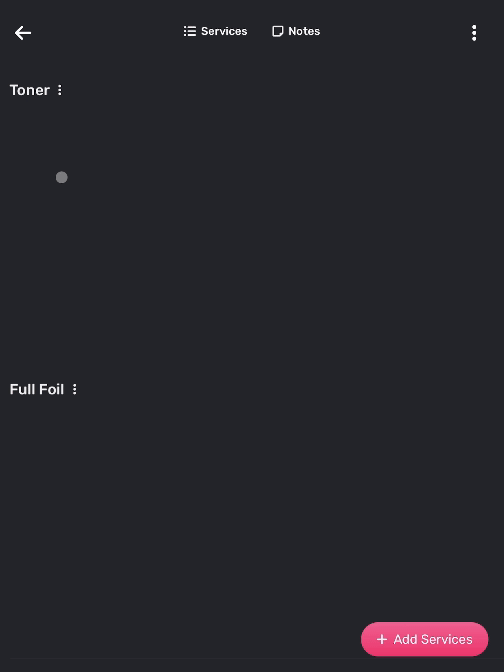
- Select the desired service(s) from the service menu and Add to Appointment.
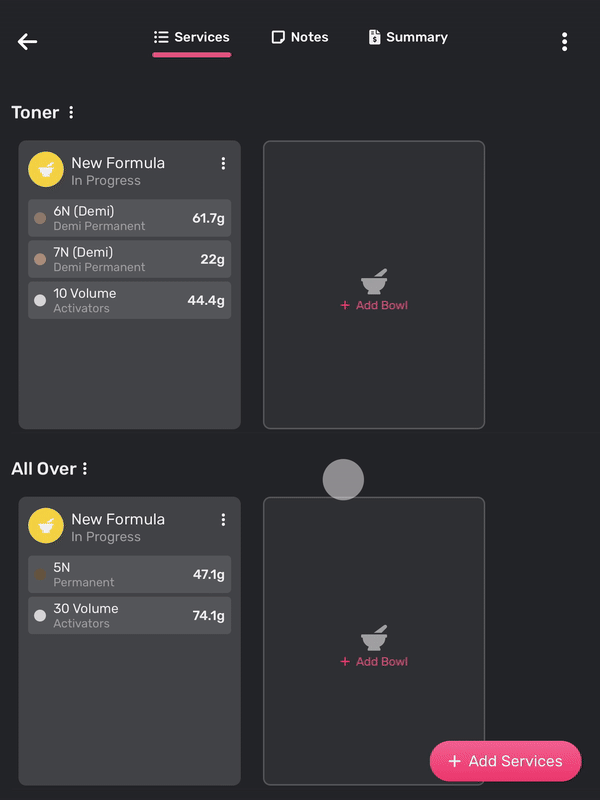
Active Bowls
All active appointments can be found in the Active Bowls tab. This is a quick reference to view your current appointments where you can reweigh or continue mixing.
Completing an Appointment
When all formulas in an appointment have been reweighed (or discarded, as necessary), you are ready to complete an appointment. Doing so will move the appointment to move it to the Completed status and let the front desk know an appointment is ready to be Checked Out.
- From the Schedule tab, select the name of the client whose appointment you are ready to complete.
- Tap the More Options in the top right hand corner of your screen and select Complete Appointment at the bottom.
An appointment can only be completed if all Formulas in the appointment have been either reweighed or discarded.
Removing an Appointment
In the case that an appointment was created by mistake, or the appointment has been cancelled, you may want to remove the appointment from your schedule:
- From the appointments list, tap the More Options icon for the desired appointment.
- Select Cancel Appointment.
An appointment can only be removed if it is empty: either it contains no services, or if it contains services, the services must themselves be empty (i.e. no product has been dispensed into any formula).
Color Ticket
In the Appointment Overview, a Color Ticket outlines the amount of dispensed product, cost, product allowance of the service, number of bowls, and product charges to be passed onto the client.
The Color Ticket displays the bowl breakdown in each service and the product dispensed in each bowl. Details include:
- Amount the total amount of product used in the service.
- Extra the value (in $) of extra product used after going over the product allowance.
- Total the total price of the service (base price of service + extra product used).